


Study Mondrian
Born in 1872, Piet Mondrian fascinates me as an artist. Perhaps at first glance you might say, “Well anyone can make that, it’s simple!”
At first glace you are right. That was the whole point! If you begin to dig deeper and think about this style with the eyes of an artist, you will begin to see more than first meets the eye and appreciate Mondiran’s style. It was called just that.. De Stijl, or “the style”. It’s also known as Neoplasticism. It was a movement in the Netherlands during WWI to produce pure form and color, reducing each object to it’s most pure and basic form. Most of Mondrian’s painting using this style were painted with only the primary colors, gray, and black.
Appreciate His Work
Mondrian didn’t always paint in this style. His work evolved from impressionism to cubism, and then finally to the development of Neoplasticism. Before you start the lesson be sure to look at several pieces of his work and from various time periods. A fun exercise we did together as a class was looking at a picture with an artist’s eye and seeing the most basic forms. So an apple on a table might be a square on top a line, and so on. Another activity that I recall the children liking was just looking around the room for basic shapes and forms- kind of like an eye spy game.
Mondrian for Kids
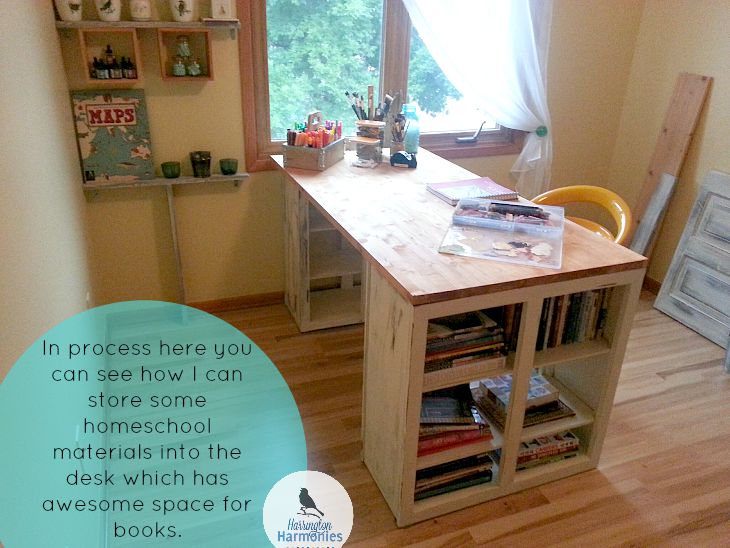
First, I had the children practice a design in De Stijl with simple crayon or marker and a straight edge. Then for lesson I brought together these materials:
- 1/4″ Black construction paper in strips
- White multimedia paper or paper plate for round base
- Red, yellow, and blue tissue paper cut in a variety of different size squares and rectangles
- Liquid starch
- Craft brushes
Then I had them begin on their final project. They first arranged their composition and then began to use the starch to “paste” the shapes where they wanted them. 
One of the only things we had to be careful of was the possibility of the tissue breaking down too much and tearing. We found that it worked out best to put a bit of starch on the paper and then gently spread it over the top of the tissue after being placed. The same is true for the construction paper strips.
 This was a very fun and fail proof project for the kids. And it was also a great way for them to practice getting an idea for their project before starting. *Note- The starch will make the paper curl a bit; but once dry you can easily flatten them under a few books.


4 Comments
Kalista
I love the finished projects! I think my kids would love making these…and they would look aweome displayed on our wall.
I did a little googling and I love Mondrian’s work. I have to say though, Broadway Boogie Woogies kind of reminds me of a pacman game. 😉
Stephanie
Thanks! I can totally see the pacman thing. It always reminds me of looking down at cars from a sky scraper!
HeatherAnne
Mondrian is a favorite to teach in my art / art history classes as well. I love the use of the pre-cut black strips! That would be really useful when my class is on the younger end. I teach ages 5 to 10 in a class together so it’s always a challenge to keep things attainable for the littles but not boring for the bigs.
Stephanie
I precut a ton of my projects because it makes the teaching so much easier. Cutting is a skill for much later in most cases. And this way every project comes out looking fabulous and the kids and I can focus on the design ideas!