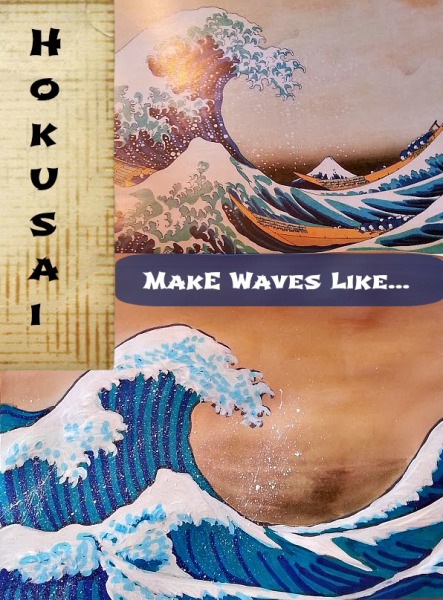
 This lesson is not just for kids. I have to confess I enjoyed doing it myself! But the children, even as young as first grade, were able to do this without trouble. First we learned a bit about Katsushika Hokusai, a Japanese woodblock artist, and studied his works. I explained a little about prints made with woodblocks. Then, we recreated The Great Wave Off Shore of Kanagawa using three different media.
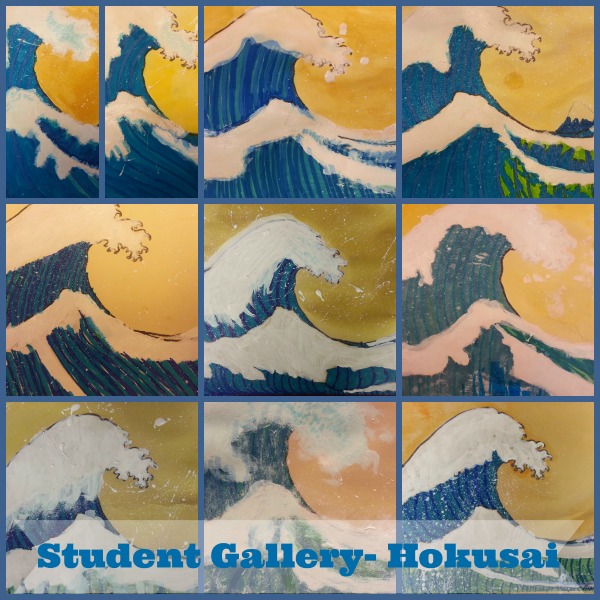 It was interesting to me that the older children had more difficultly than my younger students on this lesson. The older children tend to be more critical of their work. One way I try to lessen their stress when working with them is to touch on the areas I think they are doing well, and complement them on it. That way they see that even though one aspect of their project isn’t going the way they would like that they are having some success at the same time! It helps a little.
I try to avoid empty praise, which they will see right through. When they dislike the outcome of their project, I ask them what they would do differently. Would they use a different color? Spend more time on the background? etc. This emphasizes the benefit if the experience as opposed to having a product oriented focus.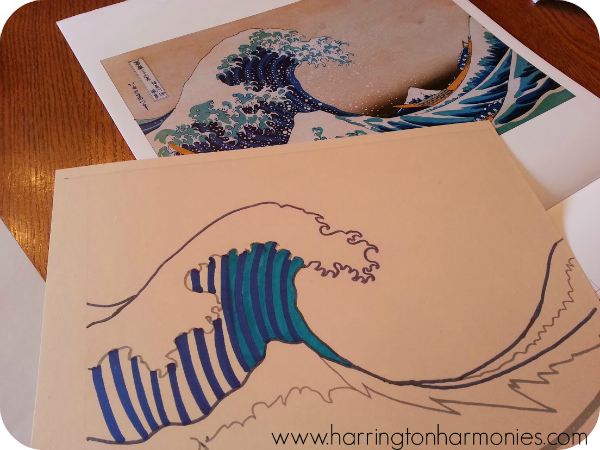
Vocabulary for this lesson is: background, middle-ground, foreground, media, paint “splash” technique, warm and cool colors, and contrast
You will need:
- Card stock- for printing the wave transparency on. I’ll explain.
- Watercolor for the background wash
- 3 different shades of blue, green, gray or purple marker
- White Acrylic Paint
- Paint brushes
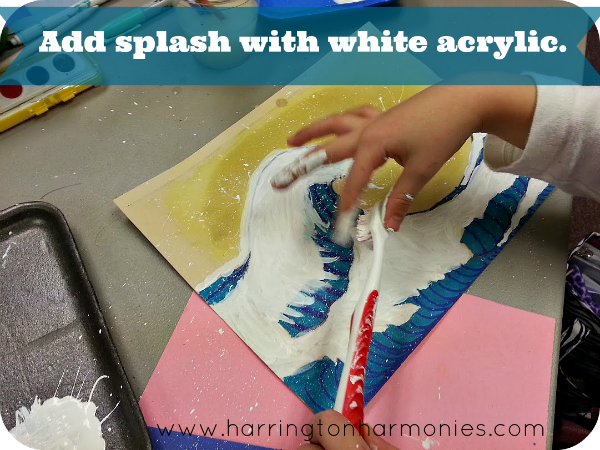
- An old tooth brush for doing a splash of white to look like wave sprays.
Our version was certainly not made with woodblock prints. Instead we used a 3 step process with three different mediums:
Make waves like Hokusai with marker first.
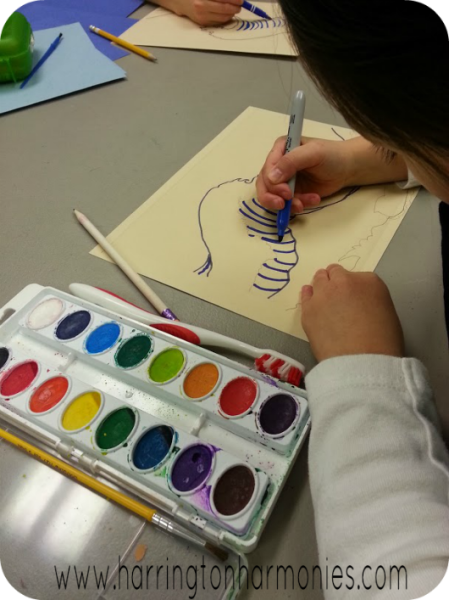
First, I gave them a print out of the plain outline of the wave. I used a clear sheet or transparency to trace an outline of Hokusai’s Great Wave Off Shore of Kanagawa and printed them out on card stock. So they began with a basic outline. Then I had them use pencil to draw the white of their waves. These areas they will not color but leave blank.
Next, they colored in the blue part of the wave. For depth we used 3 different blue marker shades and sometimes a green creating stripes in imitation of the prints. The main thing was helping the children to see what areas to leave white. It was the hardest part for them. I asked them to trace with their fingers the areas that would be left blank first.
 Make waves like Hokusai with watercolor next.
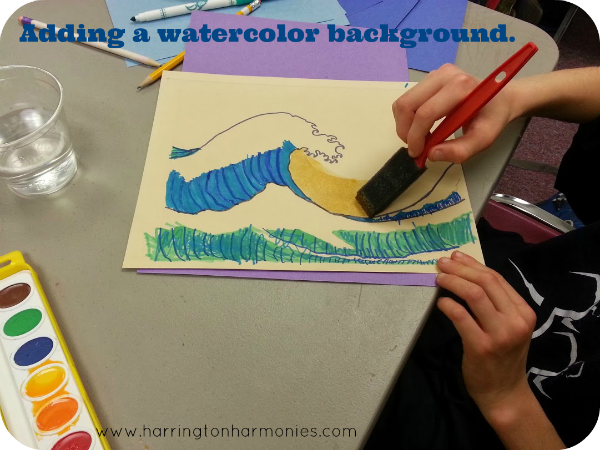
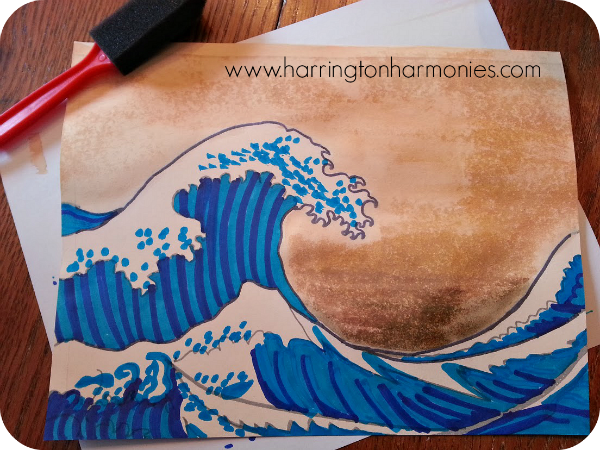
After that, we added a watercolor wash for the background….I recommend a contrasting color, something on the other side of the color wheel than blue or green. Most students chose yellow, orange or pink creating a kind of sunset feel. This might also be a good time to talk about the difference between warm and cool colors.
Make waves like Hokusai using white acrylic last.
Almost done, we added white acrylic! The acrylic adds texture. Certain brush strokes really make the waves look “splashy.” This was a great time to talk with them about using brush stokes to their advantage. I loved how some of them turned out and how it added more uniqueness to the projects!
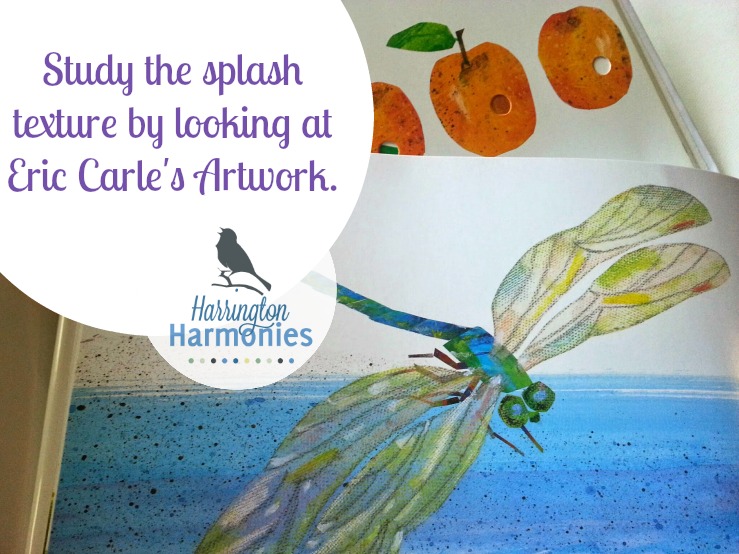
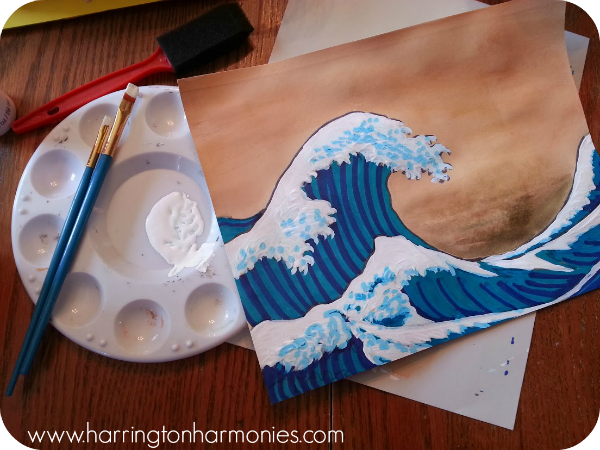 Finally, I taught them to make the waves look as if they are spraying using a toothbrush. Yep, that’s right. An old toothbrush. And this part was messy but fun! It seems simple, but it’s something they had never tried before. Sometimes I feel like teaching art is simply expanding their tool boxes!
 Find more wonderful art lessons: [Art Tutorials by Artist]









7 Comments
Elle
Do you have another recommendation instead of using a toothbrush. My child doesn’t like getting paint all over the hands and fingers. Also its a big mess to clean up afterwards, even if I lay down newspaper or a tarp. Paint splattering techniques always manage to miss and hit parts of my home I don’t want it on. I was thinking maybe a sea sponge to use instead.
Stephanie
Yes, I think a sea sponge could work very nicely. Start with just a bit of paint and light dabs till get the look you want. You can always add more but can’t remove too much. It will have a slightly different look but I think will still give the idea of a splash for sure. Great solution/ idea!
Shauna
Wonderful lesson! I love this art print. Thanks so much for sharing!
Tricia @ Hodgepodge
This is absolutely wonderful! And one of my son’s very favorites. Thank you.
Stephanie
You bet, Tricia!
Tonia
What a fun looking project! We tried a Hokusai style painting once with bubble wrap. It didn’t work out quite as expected. I think we’ll need to try again with your directions – it came out beautifully!
Stephanie
Tonia, I’m curious about the bubble wrap project. If you try this one, let me know how it goes. I’m always interested in how my ideas work out for other people. Happy homeschooling!