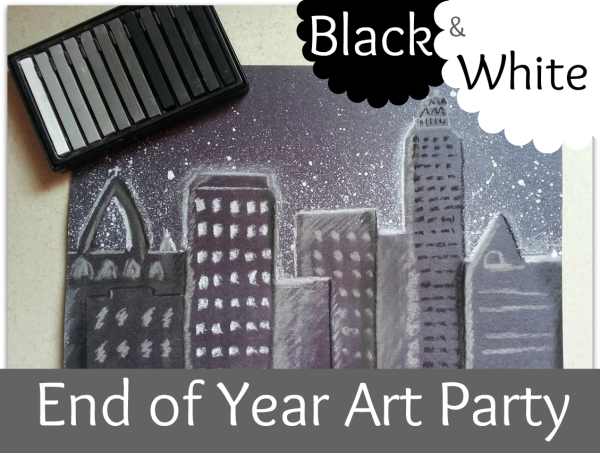
 Celebrate the end of the year with a Black and White Art Party. My co-op classes just got finished with some basic color theory and so I thought the perfect end to the year would be a quick review on contrast and positive and negative space while allowing them to pick their own art projects going from center to center creating what they want. I enjoy teaching structured classes but it makes me feel most happy when children are given the freedom to explore art the way they want.
So I created table centers with materials and sample projects for the children to follow. This way they can use the mediums in their own creative ways. I had fun giving them the means to explore while I “floated” around the room helping them with any roadblocks and demonstrating “tid-bit techniques” that they could apply to their own works.
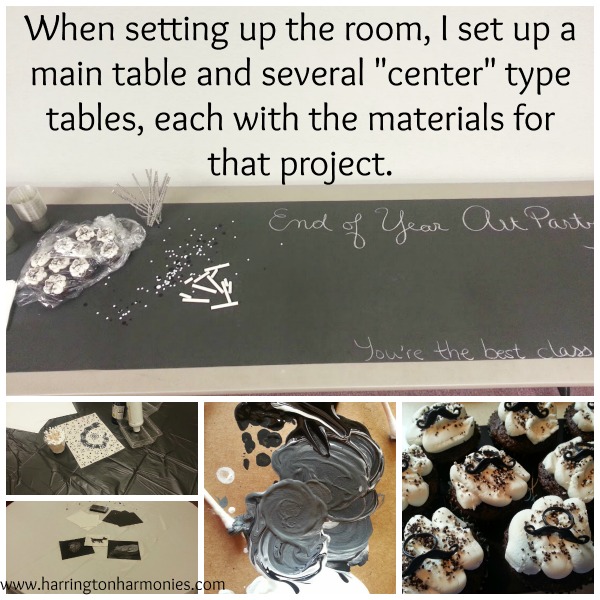 Set up for a Black and White Art Party
Setting up for this takes a bit of time but not nearly as much as you might think. I made chocolate cupcakes with white frosting and bought milk boxes for the drink. I added a few decorations but not much because I used a role of black paper to cover the main table. On one side I had the “party goodies” and left the rest of the table free . To make it fun, I put chalk on the table for the students to draw right on the table with.
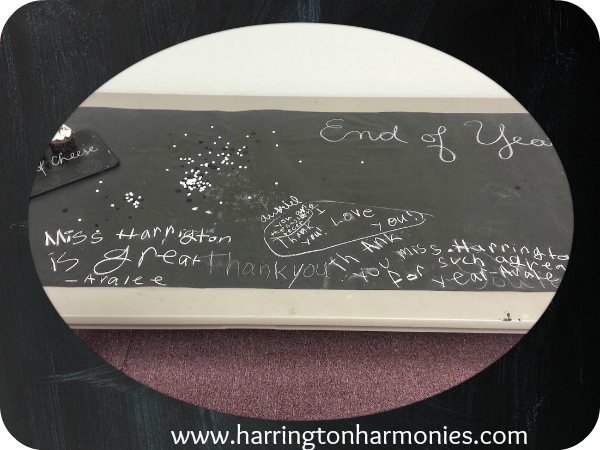
They got a kick out of that, and drawing on black feels a bit new compared to the usual white paper at restaurants. It offered a nice visual set up for hosting the party and also had great practical appeal because afterward we just rolled it up and tossed it out. I did, however, tear off their special words to me. I didn’t expect them to write those. They were such sweet messages and made me very happy.
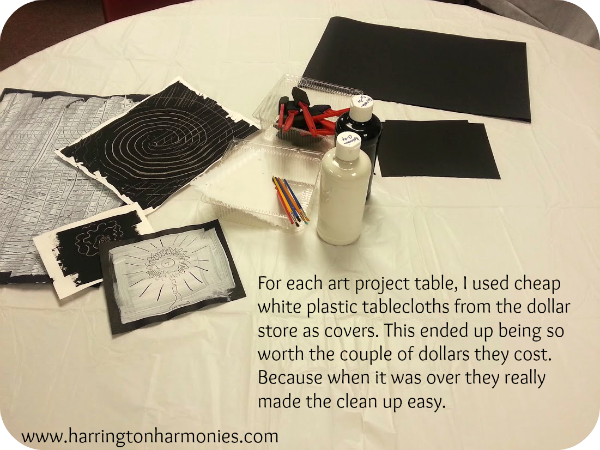
Set up a table for each project (explained below) or pick just a few:
- Bridget Riley Style Scratch Paintings
- Charcoal Animal Drawings
- Inkblot Art Creations
- Snowy Night Cityscapes
- Eraser Bugs
- Polka Dot Art
Make sure an example of each is included at the tables. Prepare all the materials ahead of time and prep each area as needed. Be sure you have enough materials at each table for about 3-4 students to be working at any given time. When I did this end of year party for our homeschool co-op I asked a few of the moms who were free that period to monitor the tables with me and help the children as needed. It also helps a bit with mess control.
Artist Study Bridget Riley & Scratch Painting Project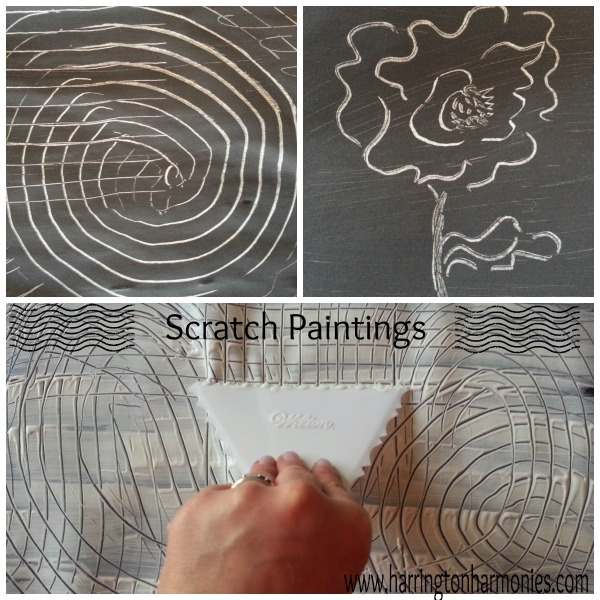
You could begin the party with a mini lesson on artist Bridget Riley and look at her optical art. I think she’d be the perfect artist for a black and white art party since a bunch of her optical art is black and white. If you want to give an art picture study ( appreciation) lesson first, the following project is a prefect way to go from lesson to hands on exploration. You can demonstrate a few examples of scratch paintings that are “optical patterns” and then let the kids begin on their own. Once done, they can explore the rest of the centers.
Materials⇒Black paper, white paper, black tempera paint, white tempera paint, tools for scratching paint away
If you use black paper spread on white paint, and likewise for white paint black, then using tools scratch away paint to make designs or images.
Charcoal Animal Drawings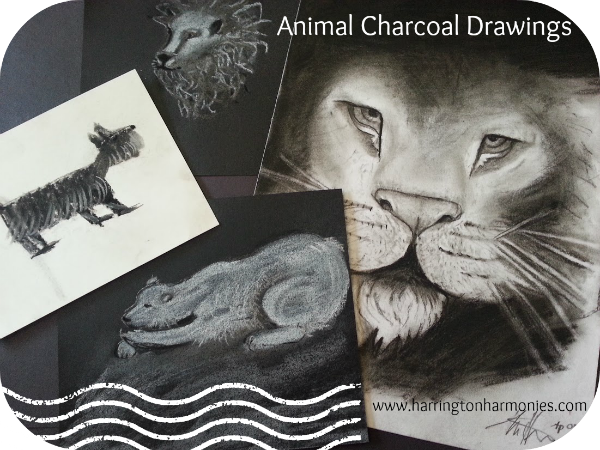
Materials⇒Charcoals, small cut quality black art paper, small cut white multi-media art paper, aerosol hair spray
Charcoal has got to be the best black and white lesson ever. They are fun, easy, and resilient. By resilient I mean it’s easy to fix mistakes. Simply rub away and add a new layer. Blending is also very fun. Here is a picture of me instructing a student:
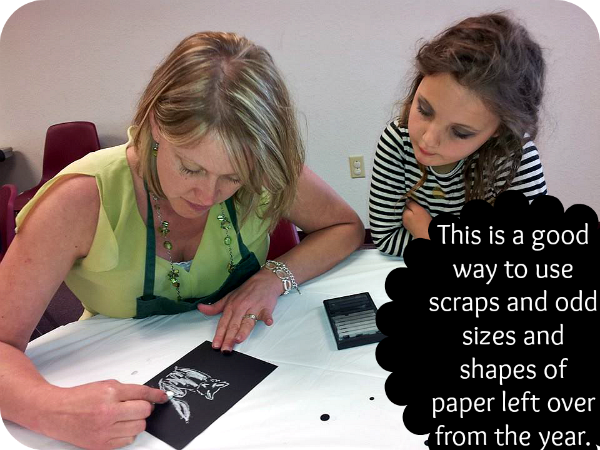
If you select animals for the children to draw that makes it even easier. Techniques for drawing fur are extra easy to accomplish and animal noses, eyes and other facial features are also easy to do. I liked using the paper cut 7 inches or less on either side. This is a good way to use scraps and odd sizes and shapes of paper left over from the year.
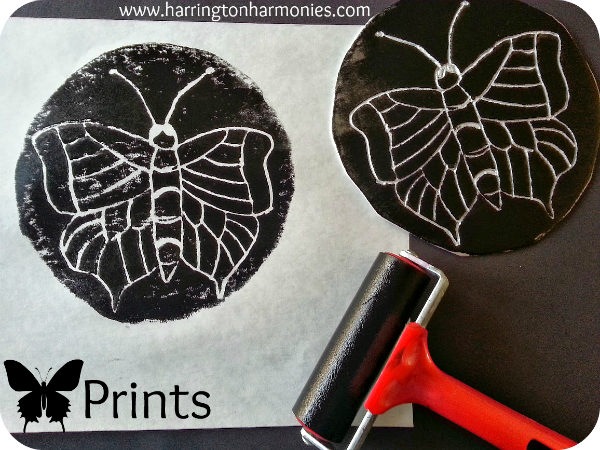
Inkprints
Materials⇒ Block Printing Ink black, flat Styrofoam from plates, block printing ink roller, white paper, pencils
Using the flat part of Styrofoam plates, children draw a picture on the plate making an indention deep enough into their Styrofoam to see a clear image. Cover roller in ink until equally distributed and roll ink onto plate. Make print by pressing your “Styrofoam ink block” plate face down onto white paper.
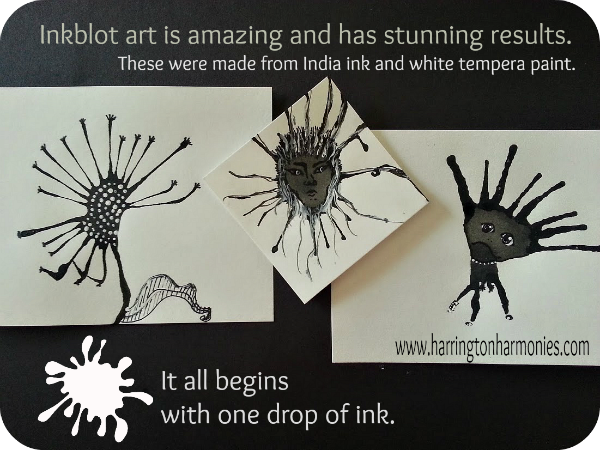
Inkblot Art
Materials⇒White paper, black India Ink , black felt tip art pens, white tempera paint
On white paper drop a drop of ink. Using a straw blow air to make it run into varying direction. Once dry, kids can begin to imagine what they can create. Using pens add details. With White paint add more embelishments and details. We also had fun with blown ink this year when we made Inkblot Valentines and did a Leonardo da Vinci Inkblot Invention Lesson.
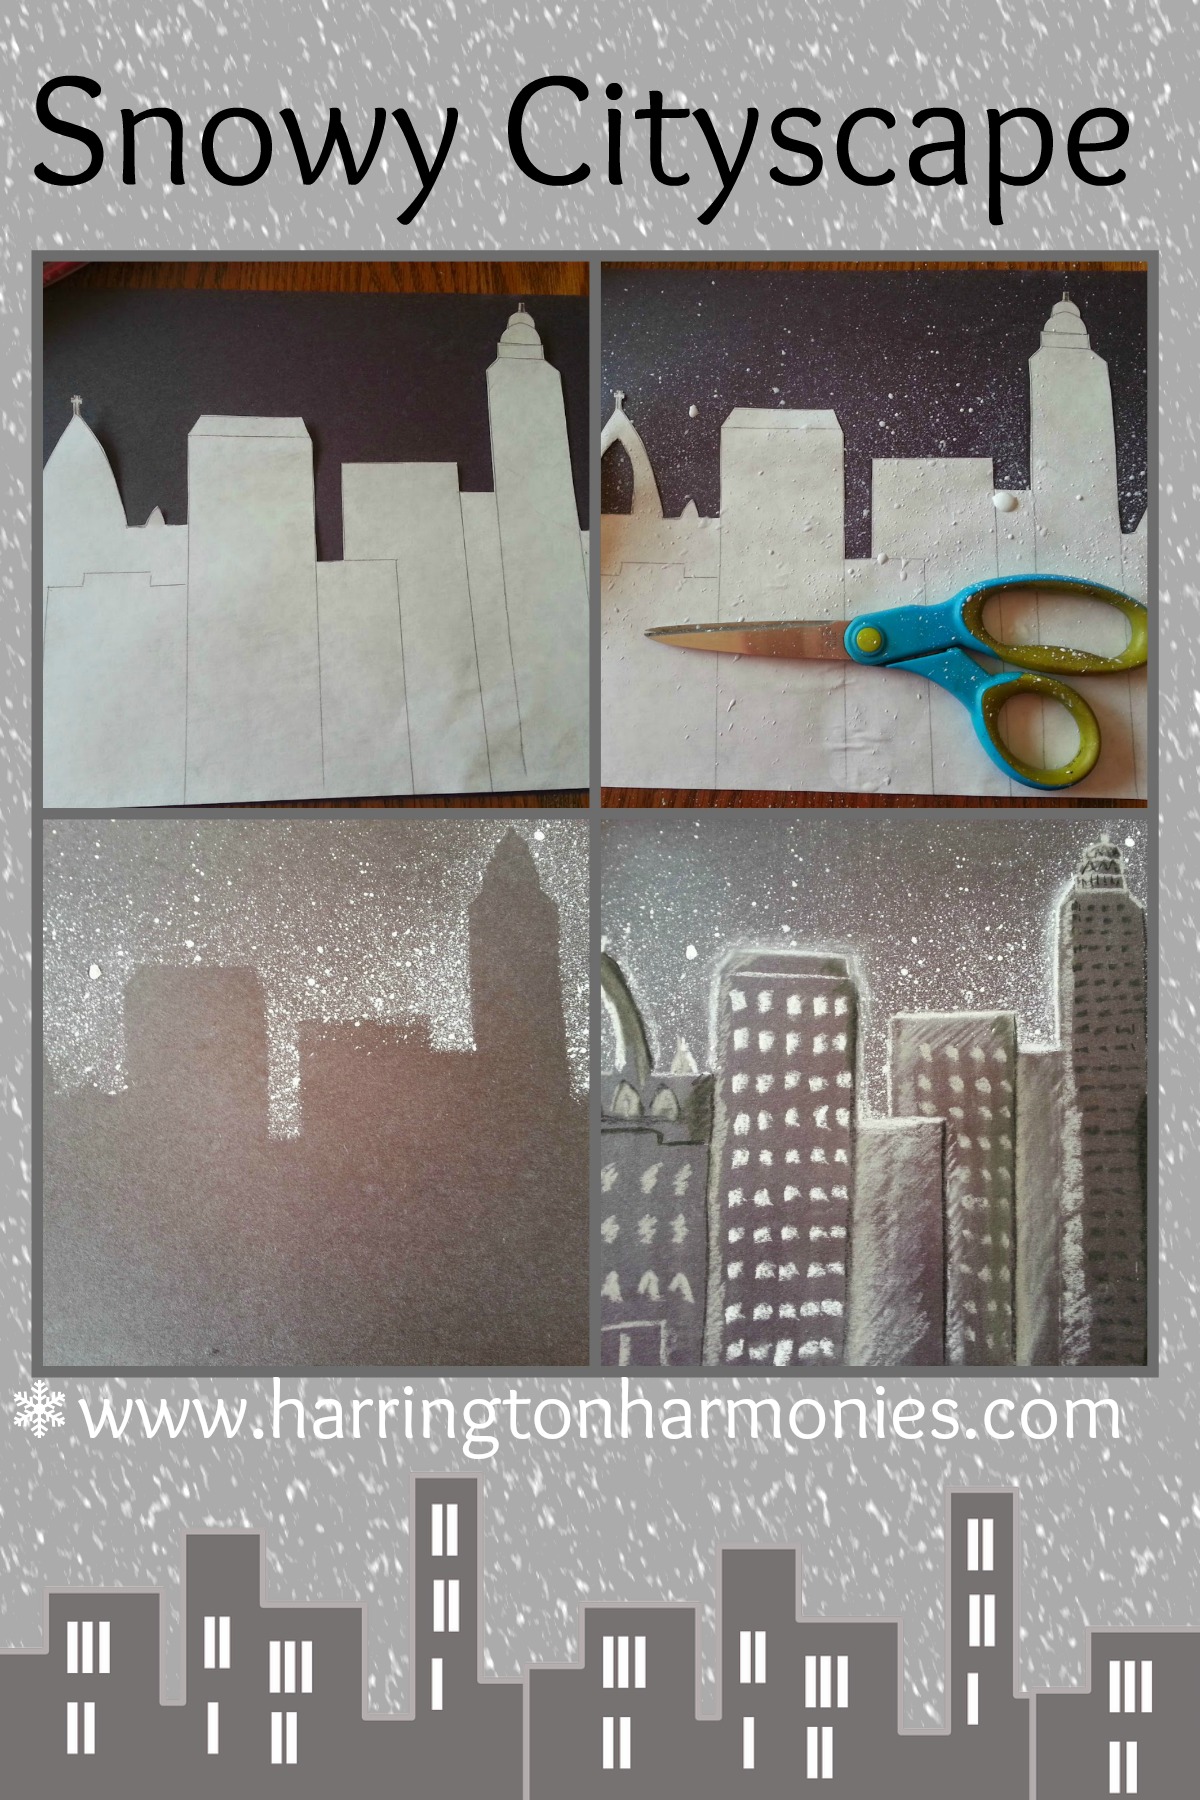
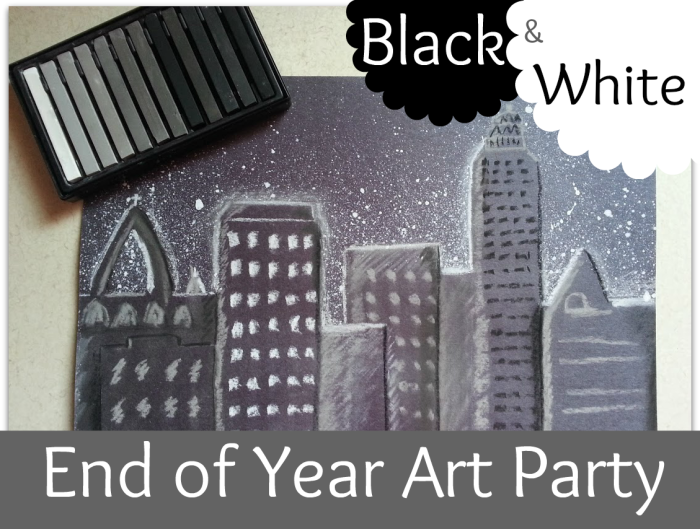
Snowy Night Cityscape
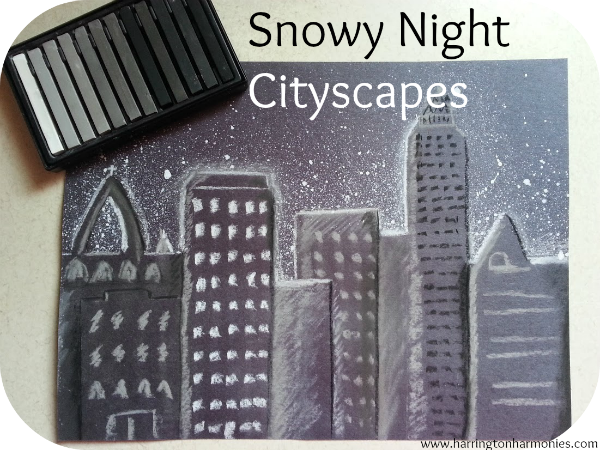
Materials⇒9 x 12 Black construction paper, charcoal set, white tempera paint, 9 x 12 white paper for cutting city skyline, scissors
- Draw a simple city skyline on the white paper.
- Cut your skyline out of the paper to be used as a stencil-cut only the top line and not each building.
- Lay it on top of your black construction paper and weigh it down to lay flat with pennies or small rocks.
- With white tempera paint watered down slightly, use a toothbrush splatter technique to make a snowy sky.
- Lift your cut out to reveal a city skyline.
- Now add details of windows, shadows between buildings and snowy roof tops with several charcoal values ranging from pure white to pure black. You can use a card stock straight edge to keep your lines straight if needed.
Eraser Bugs
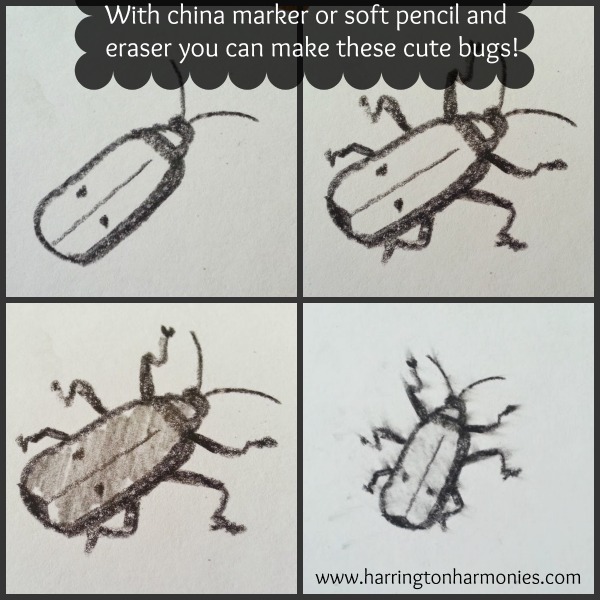
Materials⇒China marker pencil or soft pencil like Semi-Hex Graphite Drawing Pencils 4B or 6B, white paper, good easer
These little bugs have fit perfect with our insect study. For this project the children sketch bugs and then once complete use an easer to create a line through effect. This project and a few others were inspired by The Usborne Complete Book of Art Ideas (Usborne Art Ideas).
Polka Dots!
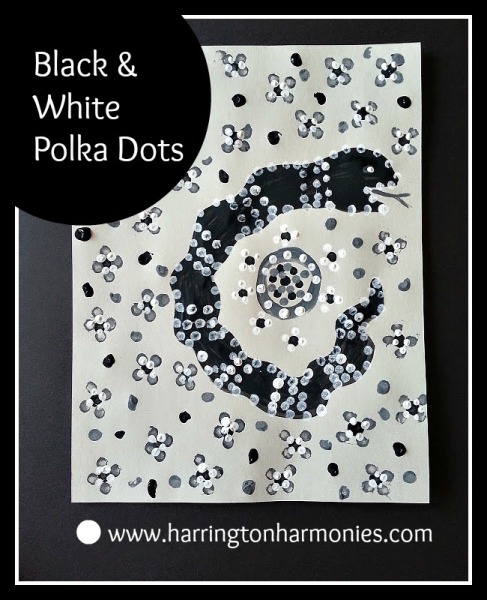
Materials⇒Gray paper, black and white tempera paint, Q- tips
Paint black animal silhouettes on gray paper, the darker the better. Using Q-tips decorate them with white, black and gray polka dots. This idea comes from the The Usborne Complete Book of Art Ideas.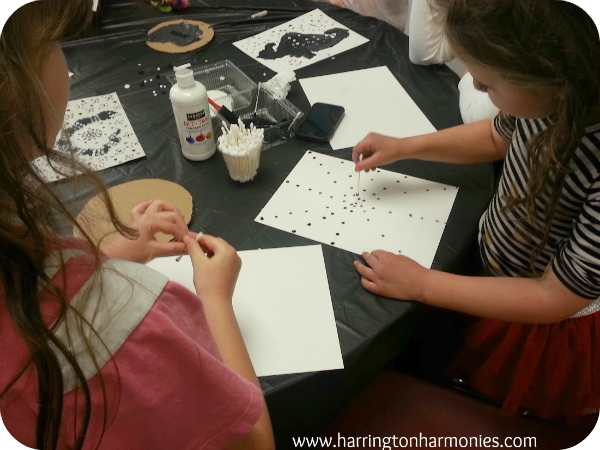
Vary it in any way you like. Try these variation ideas:
- Paint profile silhouettes and embellish them with dots.
- Create circle, floral, or other patterns from dots.
- Add one other accent color. Know why you are choosing it. What sort of emotion does it evoke?
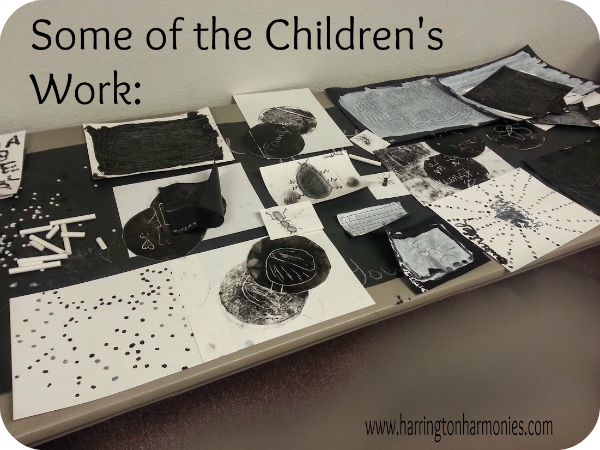
As the children in my co-op class finished projects, we laid them on the table to dry.
linked with… Hip Homeschool Hop, Hearts for Home Blog Hop
[Return to Lesson by Artist Index]
So what types of parties do you have for your kids to celebrate the end of the year?







8 Comments
chris
Stephanie~
Love this idea….I also just res’d the Usborne book from my library….it sounds like a great resource.
So happy I found your post over at the Hip HS weekly hop! I subscribed so I can receive regular updates……I remember coming here to read very inspiring words, did not subscribe and then “lost” your blog! Happy to rediscover you again….
Thanks for the terrific art ideas and have a lovely day!
Stephanie
Hi Chris, I read your blog all the time. I’m glad you found me again! The Usborne book is terrific you will absolutely love the ideas! Thanks for stopping by!
Wendy
Stephanie, you are so creative!! I love this post and the great ideas in it! 🙂 Mary Grace and I will give some of them a try.
Stephanie
Thanks my friend!
Aadel
You are just the most creative teacher! And my kids are sad that they can’t be in your class. I do plan to use your ideas next year when we have space to actually “do art” and maybe I’ll even teach a class at our next coop!
Stephanie
Thank you, Aadel. 🙂 I hope you can use some of my ideas for your co-op next year. I am hoping for more space when Brian retires and we finally get a house of our own. I dream of an art studio one day. Art can be difficult in small spaces. Most of the time we end up working on our dining room table. It’s not fancy so it’s okay if it gets a bit messy, lol. So nice to hear from you!
Jackie P
As I scrolled down the page reading, I would say to myself, “Oh, this is my favorite one.” Then I’d see the next art activity and say the exact same thing. LOL The inkblot activity really looked like tons of fun…so creative!
My daughter took two or three art classes when she was in co-op. The teachers were art majors and did a fantastic job with the kids. She also took the Time4Learning art course, but that’s all the art classes she has taken. She draws all the time. We recently got her a Wacom tablet, which she can’t get enough of at all.
Thanks for sharing these fun activities.
Joyfully,
Jackie
Stephanie
Thanks for sharing, I think art is something that really enhances our homeschools. Lots of moms leave it out and I realize why but it’s worth the extra effort and time to keep it in our programs. Thanks for sharing the great varieties of ways you keep art in your homeschool!