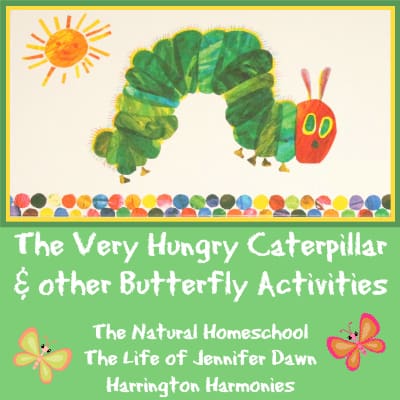
Teaching Texture with Eric Carle:
We’re almost done creating textures inspired by Eric Carle’s books: The Very Hungry Caterpillar and The Very Quiet Cricket Board Book
. Each day this week I’ve written tutorials for:
- Color Wash and Splash Textures-Monday
- Brush & Scratch Textures – Tuesday
- Insect Textures– Wednesday
- Blotting Textures-(You’re Here)
- Project Completion- Friday
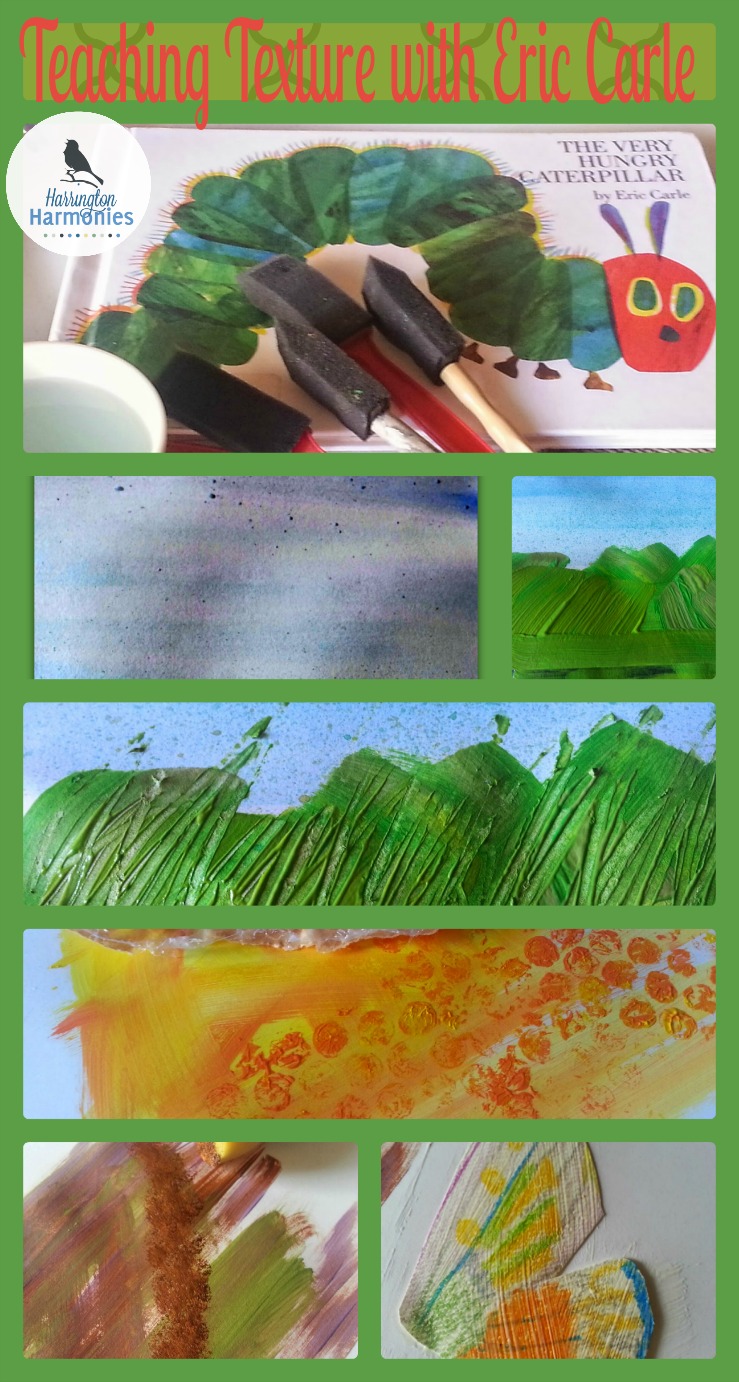
Texture #3: Blotting Textures
Materials Needed ⇒ Card stock or sturdy white paper, yellow and orange paint, scissors, bubble wrap
Note: You can use anything to create texture by blotting as long as it has some raised parts to it. If you don’t have bubble wrap use something else around the house that would leave an impression. If your child desires let them finger paint the smile in the sun just like in the book: The Very Hungry Caterpillar.
 Picture Study:
For this part of the lesson, look at the sun and moon images in both books and start the discussion by asking:
- What textures do you see?
- What different colors does Mr. Carle use for the sun? moon? Now would be a great time to talk about warm and cool colors.
- How do you think the faces are made? Do you want to make a face in your sun or moon?
- What feeling does a happy sun give to the story?
- How is the texture of the moon in The very Hungry Caterpillar different from the moon in The Very Quiet Cricket?
- How might you make texture similar to the moon in The Very Quiet Cricket?
Let’s Make Sunny Textures
So far we’ve covered the background as well as the insect for our project. We just need one more “Eric Carle style” component. Sun or moon textures! Obviously, if you’re going to do a moon for a night time project, use shades of white, gray and other cool colors such as blue or purple in place of the yellow and orange for the sun in this tutorial. Start with yellow and make some texture brushing both directions.
 Add a second color, again using brush strokes to create texture. Remind the children not to blend. Once you have done that it’s time for the fun part! Using the bubble wrap or another texture maker, dap it into a third shade of color and then blot the texture onto the color -over what you have done so far. This is a third layer of paint for added texture.
 The last step is to let dry and cut out the desired size and shape. This is often hard for children (and adults) to estimate size until placed on the background. So, start larger than you think and you can always trim to the right size later. Use remaining portion to cut the suns rays if you’re not making a moon.

Visit tomorrow to see the entire project revealed and how to put it all together!
Linked up for…