 Up till now I haven’t had my students do much cutting with scissors. In fact, I do a lot of pre-cutting because it saves a great deal of time in a class setting from a teaching perspective. It was time for my students to do some cutting and this was the perfect lesson for it!
For this Henri Matisse art lesson you will need:
- watercolor paper
- watercolors
- paint brushes
- salt
- white oil pastels ( you can substitute crayon)
- scissors
- glue
 This is a terrific art lesson for teaching color, texture and shape. Not to mention design and many other elements. Plus it’s fun for the kids and offers them each the opportunity to be expressive with their creations…that’s what Henri Matisse would want.
As with all lessons, I began by teaching a little about Henri Matisse. He was a french painter. He was very much influenced by Cezanne and was part of the modern art movement, more specifically- fauvism. He is well known for his use of vibrant and unrealistic color.
 Portrait of Madame Matisse. (The green line). 1905. Oil and tempera on canvas.
For more picture study you might like:

Twenty-Four Henri Matisse’s Paintings (Collection) for Kids
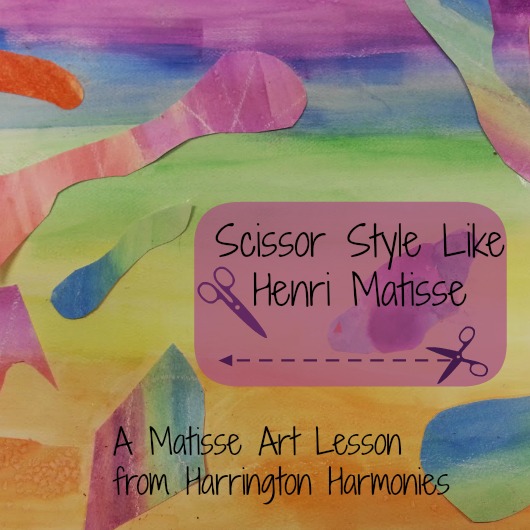
Later in life, he became ill and it was too difficult to paint. This is when he started using paper cuts and doing design with them. First he would paint the sheets and then cut them. I have seen several examples of “Matisse” collages for kids but fewer had them do the actual coloring of the sheets, most likely due to time constraints. But I felt that it would be an excellent opportunity for my students to experience more about textures and colors and to get messy with art! Then later they could experiment more with shape and design.
 Each project we do is only a means for them to acquire their skills. To have scissor style like Henri Matisse we spent a bit more time when doing our picture study on his work. My intention was for the children to be inspired by him, truly inspired. I didn’t wanted to limit them to only the shapes and forms he created. I want to let them create their own scissor style. So we looked at several different works and discussed the colors and shapes he used. I also emphasized his later design work such as the stain glass.
 Henri Matisse Art Lesson Tutorial
1. Preparation.
Give each student several sheets of water color paper. Before they begin painting in bold shades of color, ask them to think a bit about what they will create. What inspired them about the art of Henri Matisse? Their ideas can guide their color and texture choices, and in the same way, how their textures and designs turn out can give them a great idea too. *Note that it may be difficult for your child to get a bold color from watercolor without some guidance. Explain that less water and more paint creates darker colors while more water will make them lighter.
 2. Painting with Scissors.
The hardest part will be getting your child to think about using their paint, and other mediums, to create color and texture only. They might feel inclined to paint a “picture”. In this case, that’s not what we are going for. Rather, in the way Matisse “painted” later in life due to illness, your child will create the images by using shape and design. This is taking drawing and painting to whole new level for them.
 3. Making Color and Texture Sheets.
Using white oil pastel or crayon, have your child add swirls and other Matisse inspired shapes before painting any area they wish to have resist the water color. What lines can they use to make textures? I demonstrated several examples of creating texture for my students. One really fun way to add texture is to sprinkling salt onto the wet water color. It will absorb paint leaving a texture after it drys. Another possibility for creating texture is using brush strokes and different amounts of water. A dryer brush leaving some white unpainted areas combined with brush strokes in different directions is great way to achieve texture. Try using a sponge as well. Let your artist experiment. What other water absorbent tools could be used to apply watercolor? Perhaps your child can come up with their own technique!

4. Let Dry.
Once dry, remove any salt that can be removed. Select one colored sheet for the background of the project and set it aside.
 5. Cut Desired Shapes.
The best for last. This is where the “painting” with scissors happens. You can teach all about shape here. It’s fine to encourage “Matisse style” favorites but think outside the box. What is in your child’s mind that they can cut out in shapes and then put on their background paper? Will their collage be abstract, simply geometric or depict a scene? Will they create a self portrait or their favorite video character? Oh, the possibilities!
 6. Arrange the Shapes for Placement and Glue.
This is fun to watch from a teaching perspective. I love to see their little minds turning. They can cut to perfection at this point to get their shapes the way they want. Have them design arrange before gluing for a preview. Then have your child brush glue on the back of their shapes with paint brushes and apply them to their selected background.
Note: The watercolor paper will curl a bit so after these are fully dry you may want to press them in a big book to make them flat. A day should do the trick and then you can store them in your child’s portfolio or frame.
One great resource similar for toddlers:
Pretty Paper Factory from Sara @Happy Brown House
[ Return to Lesson by Artist Index ]


2 Comments
Anne Campbell
Thank you for linking up this post with the Hearts for Home Blog Hop! I featured it as one of my favorites, so feel free to stop by and grab an “I Was Featured” button for your blog. Hope to see you back again! http://learningtable.blogspot.com/2014/04/hearts-for-home-blog-hop-62.html
Stephanie
Thanks for featuring me Anne!