


Teaching Texture with Eric Carle:
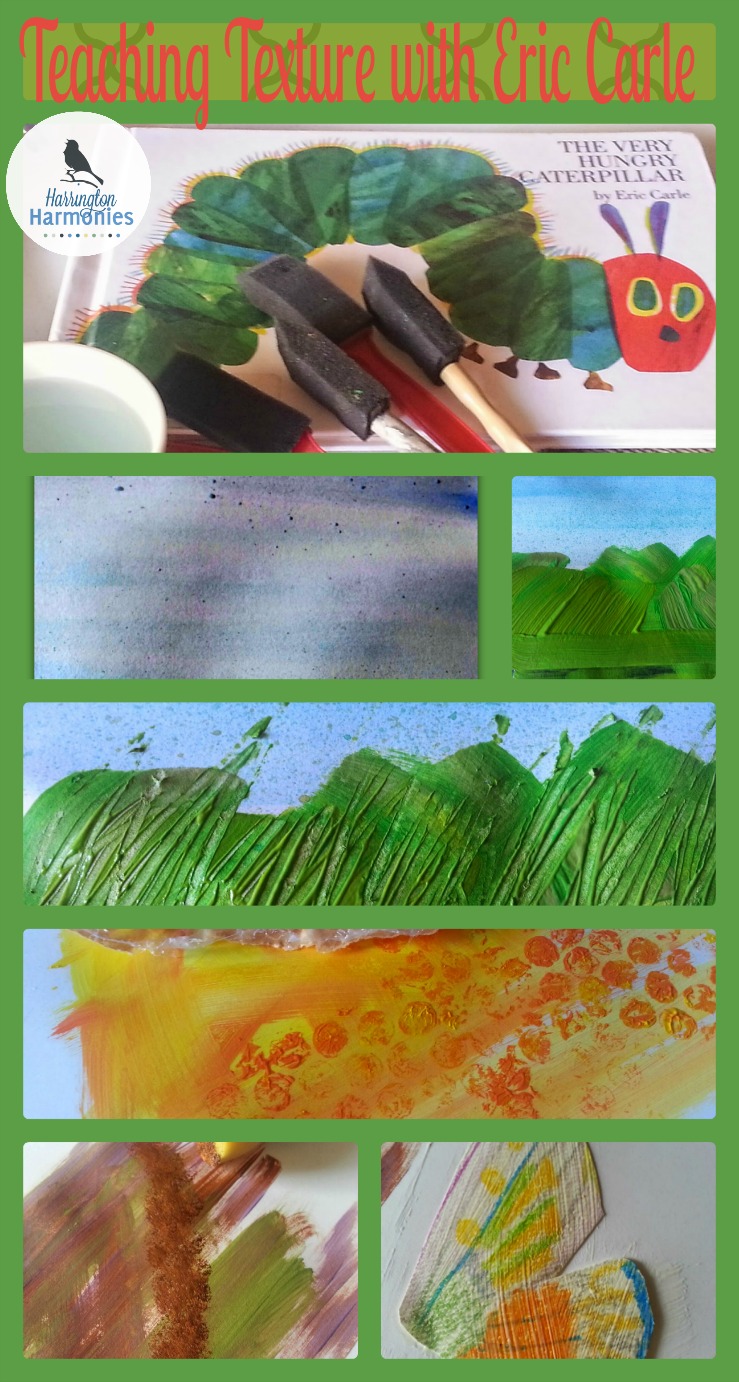
All week I’m writing about five texture techniques inspired by Eric Carle’s books: The Very Hungry Caterpillar and The Very Quiet Cricket Board Book
.
- Color Wash and Splash Textures– Monday
- Brush & Scratch Textures – Tuesday
- Insect Textures- (You’re Here)
- Blotting Textures- Thursday
- Project Completion- Friday
Today your child will consider what type of insect they want to create. In this example, I plan to create a butterfly to soar around the background we have made so far.
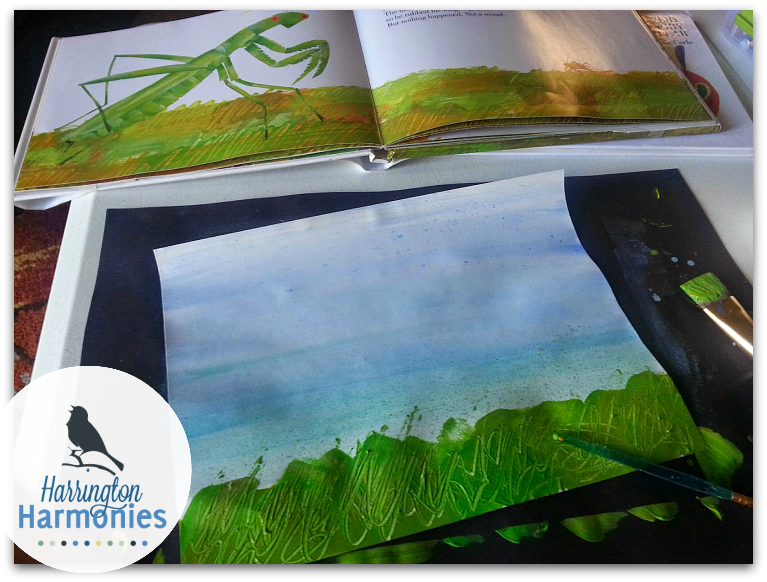
I think this technique is excellent for making insects with transparent wings. Allow your child to look at different insects in the book: The Very Quiet Cricket for inspiration. I’m taking that inspiration and using it in this example to make a butterfly.
Texture #3: Transparent Wings and Insect Bodies
Materials Needed ⇒ Watercolor Paper, Crayons, Scissors, Glue or Mod Podge
Note: Be flexible here and experiment with textures. The watercolor paper is an easy option but you could also try crayon rubs on card stock with real textures from nature! Many natural objects could easily mimic insect wings such as leaves with veins.
 Picture Study:
While looking at the insects in the book, discuss….
- The variety of color used. How many colors can be seen in a dragon fly’s wings?
- Different types of wings of various insects.
- Whether an insect’s wings are translucent or solid.
- That they look textured and whether real insect’s wings are textured.
- What color wings your child/student’s insect will have?
- More possibilities for creating textured wings and insect bodies.
Make Your Own Insect Textures:
 To begin making an insect, color wing sections in the colors desired on watercolor paper. With this part of the lesson, the paper offers most of the texture needed. I did my butterfly wings free hand. Even a small child can feel very successful if guided to do patches of color and then you can outline the wing shape for them to cut out! I often find that children’s artwork is so much more interesting and appealing than an adults! (I would much rather show examples of a child’s work here, but I hope this will at least get you started.)

Finalize the wings with lines for the veins of the wing as desired. Then cut them out.
I added mod podge over the top if the wings just to give it added finish. I love working with mod podge. If you’re using glue instead just omit this step. Let dry on a non-stick surface.

Next, lets take a look at textures for a body for the insect. At this point it’s about experimenting with different brush textures. It’s a good time to add some stamping too! Any sponge or textured material will do! Guide your child in making serval sheets of textures and colors. Afterward, have them cut out the body for their insect.

Once the children have cut out their shapes they can put the insect together. Some may require being glued to the background. In that case wait to glue till all the project parts can be arranged at the very end. Butterflies, however, are particularly easy to construct by just gluing the wings to the body.

Visit tomorrow to see the next texture revealed!
Linked up for…


1 Comment
Heather Woodie
My entomologists would adore this project! I think we’ll try it. I just need to find my copy of this book…we have it in board book form. haha